
- Film & Animation
- Music
- Pets & Animals
- Sports
- Travel & Events
- Gaming
- People & Blogs
- Comedy
- Entertainment
- News & Politics
- How-to & Style
- Non-profits & Activism
- Religion & Spiritual
- Health Natural Remedies
- Gardening +
- Arts & Crafts
- Action
- Hair & Beauty
- Hunting & Survival
- Shopping & Reviews
- Motivational & Self Help
- Jesus
- Marriage
- Live TV
- Programing & Coding
- Latest & Gadgets
- Make You Own
- Unexplained & Stange
- Jesus Christ
- Food & More
- Other
Top videos
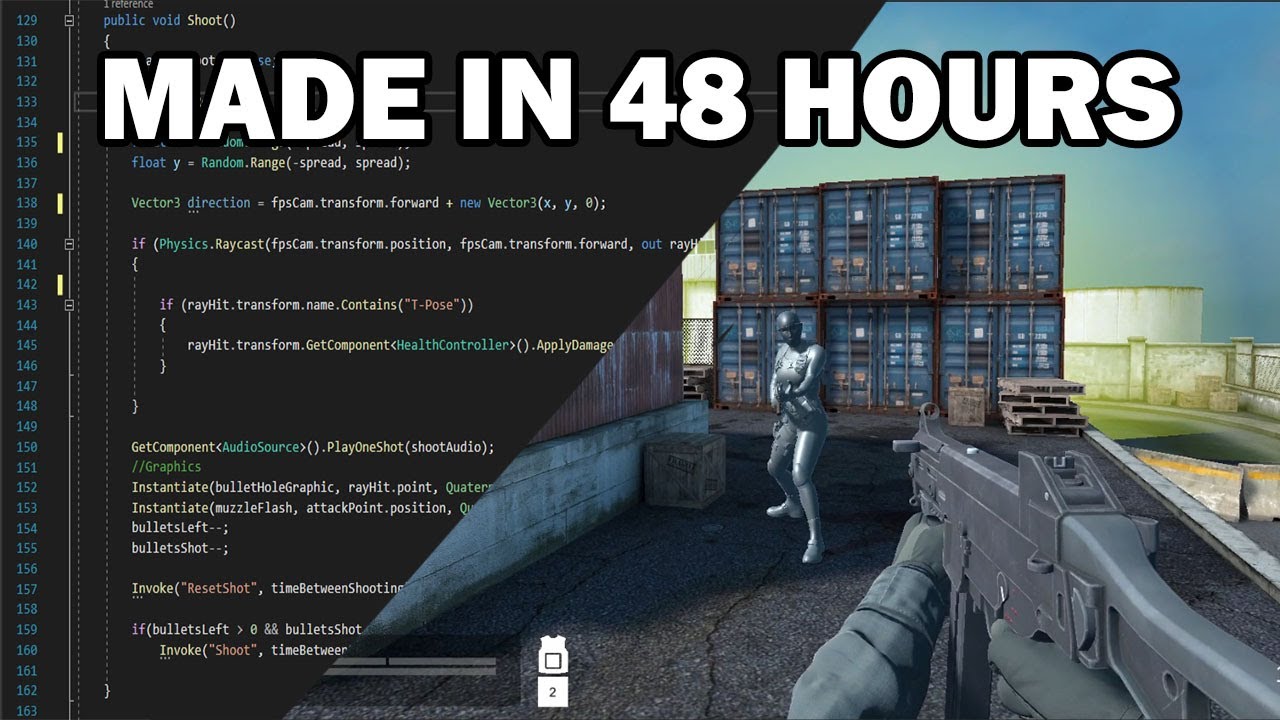

I made Call of Duty Warzone Clone in 48 hours using the Unity game engine.
A fun 3D game development challenge to make Call of Duty Warzone Clone which is a 3D first-person shooter battle royale in a limited time frame, putting my beginner Unity game development skills to the test.
[learn]
➤ Learn how to make games (big discount): https://www.gamedev.tv/?ref=usmandev
➤ My newsletter on how to generate wealth with code: http://codewealth.io
[game]
➤ Wishlist my game: https://store.steampowered.com..../app/2323380/Void_Bo
[socials]
➤Discord: https://discord.gg/ARzPZEcbNE
➤Twitter: https://twitter.com/usmandevyt/
Similar Channels/Inspirations:
Dani - https://www.youtube.com/c/DaniDev
Polymars - https://www.youtube.com/c/PolyMars
MixMorris - https://www.youtube.com/c/MixMorris
Barji - https://www.youtube.com/c/BarjiGames
Tyler Green - https://www.youtube.com/c/TylerGreen
Croixwin - https://www.youtube.com/channe....l/UC3ZBg9LBkqXEv_vkc
CodyCantEatThis -https://www.youtube.com/channe....l/UC9P0bchnch7IqfrbT
Music from: https://www.youtube.com/channe....l/UCSZXFhRIx6b0dFX3x
This video is for entertainment purposes only, my version of Call of Duty Warzone is just a clone and the official game rights belong to Activision.
This is a Game dev Challenge of Making a 3D FPS game / Making Call of duty Warzone which is a 3D FPS Call of Duty Clone and How to make Call of duty in Unity.
#gamedev #3DUnity #callofduty

Learn how to make an Electronic Mosquito Repellent Circuit Using 555 timer IC (DIY) on breadboard. You can also make this project on PCB after learning this circuit on breadboard. I hope this breadboard tutorial will be useful for you!
List Of Materials:
1. DC Buzzer: https://s.click.aliexpress.com/e/_dVOcG7P
2. Resistors: 1K Ohms: https://s.click.aliexpress.com/e/_d8rMPAt
3. Ceramic Capacitors 104: https://s.click.aliexpress.com/e/_dZ1GxCl
4. Variable Resistors 103: https://s.click.aliexpress.com/e/_d7wFq37
5. Breadboard: https://s.click.aliexpress.com/e/_dY10JB7
6. 9V Battery (Rechargeable): https://s.click.aliexpress.com/e/_dT8y9bF
7. Battery Connector: https://s.click.aliexpress.com/e/_dYJ7IHT
8. Jumper Wires: https://s.click.aliexpress.com/e/_d8oUF73
9. 555 Timer IC: https://s.click.aliexpress.com/e/_dZUlILX
and some basic tools are
Soldering Iron: https://s.click.aliexpress.com/e/_dT1NOzX
Soldering Paste: https://s.click.aliexpress.com/e/_dZq0mhB
Hot Glue Gun: https://s.click.aliexpress.com/e/_dYsNoCd
Third Hand Tool: https://s.click.aliexpress.com/e/_dZZlFXB
Multimeter: https://s.click.aliexpress.com/e/_dZuPdCh
Drill & Electric Screwdriver: https://s.click.aliexpress.com/e/_d8uUE3F
Cordless Drill: https://s.click.aliexpress.com/e/_dTl3rFf
DIY Tool Kit: https://s.click.aliexpress.com/e/_dURpDt3
Variable Power Supply: https://s.click.aliexpress.com/e/_dVjXdlr
For more useful DIY videos please subscribe our channel "IdeasTV".
Please give us your precious feedback below in comments also like this video and share with your friends :)
Thanks! have a good day :)
Video Link: https://youtu.be/85SOvHNK5xo
Facebook: https://goo.gl/UAw6D3
Twitter: https://twitter.com/IdeasTvOfficial
Instagram: https://www.instagram.com/IdeasTvOfficial/
DISCLAIMER: This video description contains affiliate links, which means that if you click on one of the product links, I’ll receive a small commission on a purchase without additional cost to you. This help support the channel and allows us to continue to make videos like this. I only suggest those products that I personally love and use in the videos. Thank you so much for the support!
#MosquitoRepellent #BreadBoardTutorials #IdeasTV


Here is how I make Sad Electronic Songs from scratch with vocals in FL studio 20. I show my recording, production and mixing process with piano, synths, drums and vocals. I hope you enjoy it
Check out My Socials for consistent updates, posts and more
📸 Instagram: https://www.instagram.com/kobimccoull
⚡All my Socials https://withkoji.com/@kobimccoull
✨All The Kit I Use: https://kit.co/kobimccoull
🎥💻🎧🎸💙
The Essentials:
DAW https://geni.us/FLstudio
Audio Interface https://geni.us/id4interface
MIDI Keyboard https://geni.us/MIDIcontroller
Laptop https://geni.us/LAPTOP
Speakers https://geni.us/KaliStudioSpeaker
Headphones https://geni.us/ATHProHeadphones
Camera https://geni.us/CAMERAsonya6400
Main Microphone https://geni.us/RodeMicNT2A
Timestamps if ya want them:
0:00 Intro - It's raining and I want to make sad songs
0:14 Full Demo - Sad Electronic Song
Breakdown
1:53 Emotional Piano production
2:38 Unique electric guitar tone using serum
4:12 powerful yet emotional drum production
7:45 Epic synth and strings production, but there's a BIG problem...
13:00 Thicc Sub Bass production with the most underrated distortion plugin
14:26 Full Vocal production
18:14 Outro - Thanks for watching :)
Tags:
Sad electronic music, how to make sad music, making sad music from scratch, how to write sad songs, how to make a sad song, how to make emotional electronic music, how to make epic emotional music, how to make illenium music, how to make electronic music, sad chill music, how to make a pop song, how to make a song from scratch, fl studio 20, fl studio tutorial, sad chords, illenium tutorial, emotional pop music, future bass tutorial, how to make future bass in FL studio 20, fl studio electronic music tutorial, future bass vocals, edm vocals, how to mix electronic music, fl studio mixing tutorial

This project was born from the question whether an Arduino Uno can produce short sound samples and play them simultaneously, without using any extensions. Turns out it can. With some clever programming.
The result is this drum kit! It features 6 instruments and is surprisingly playable.
The project and soon all source code on hackaday.com:
https://hackaday.io/project/17....1929-an-arduino-base
My friend's band:
https://www.facebook.com/Mythrandirband/
The demo song:
https://www.youtube.com/watch?v=KgzXIN0KX8o
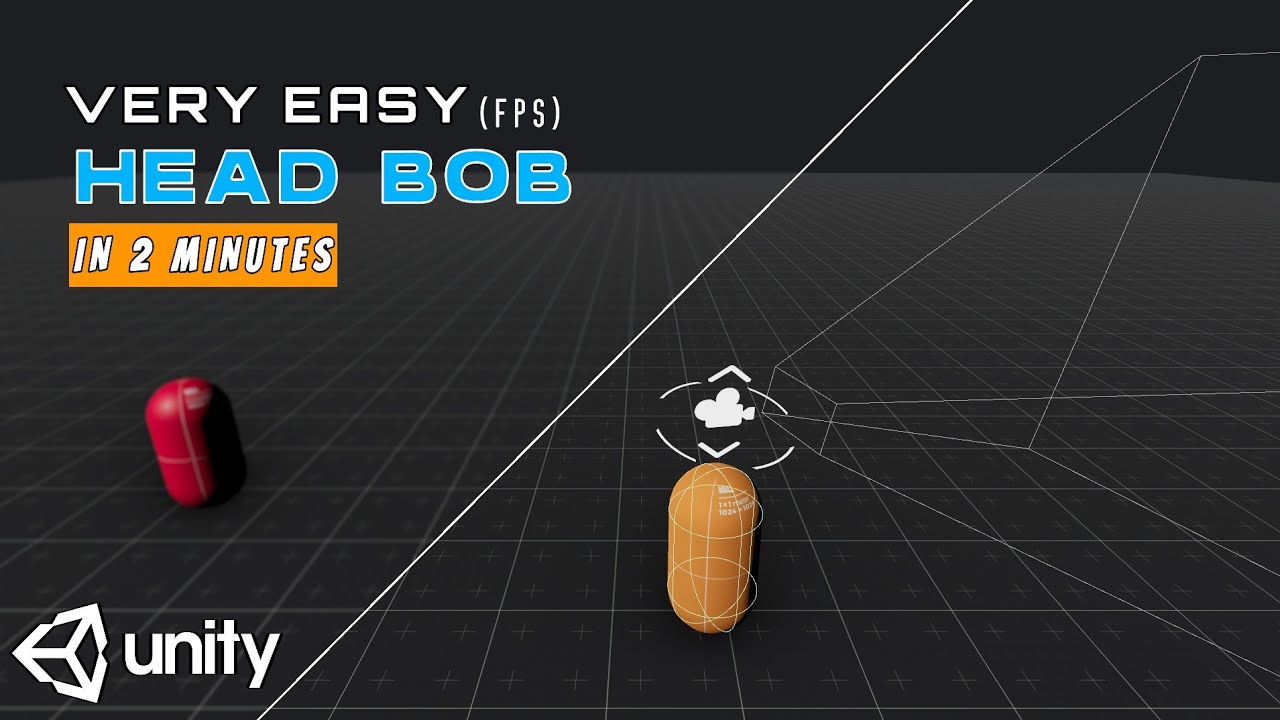
lets create a simple and easy head bob system for our fps games in unity3d.
in this part you will learn a basic one and for the next parts of this series we will have a much more advanced head bob dydtem.
#unity3d #fps
____________________________
scripts are avaipable in discord server:
https://discord.gg/BzZMFvmdKW
____________________________
background music is free and from:
Music: Corporation by Alex Productions
https://soundcloud.com/alexproductionsmusic https://bit.ly/3BXMvKN
Video Link: https://youtu.be/1XFEwwnfLfE
____________________________
some other related tutorial
FIRST PERSON MOVEMENT:
https://youtu.be/vi2gyl3yU9k
____________________________
VIDEO MADE BY "FILMORA"
____________________________
chapters:
0:00 intro
0:33 preparing the camera
0:48 coding head bob system
1:48 testing head bob
2:06 finalizing the head bob script
2:27 completed!
╔═╦╗╔╦╗╔═╦═╦╦╦╦╗╔═╗
║╚╣║║║╚╣╚╣╔╣╔╣║╚╣═╣
╠╗║╚╝║║╠╗║╚╣║║║║║═╣
╚═╩══╩═╩═╩═╩╝╚╩═╩═╝
121Gamers The Elite Gamers Facebook Type Community
121gamers stunning HD Integrated Video Chat,Games,Video Share,Downloads,Clan Groups,Battles,Reviews And More 121gamers offers many custom options such as Vdeos,live interactive services virtual world walls photo share customise you wall add twitter facebook friends check out the fastest growing gaming Cummunity Http://www.121Gamers.com
╔═╦╗╔╦╗╔═╦═╦╦╦╦╗╔═╗
║╚╣║║║╚╣╚╣╔╣╔╣║╚╣═╣
╠╗║╚╝║║╠╗║╚╣║║║║║═╣
╚═╩══╩═╩═╩═╩╝╚╩═╩═╝

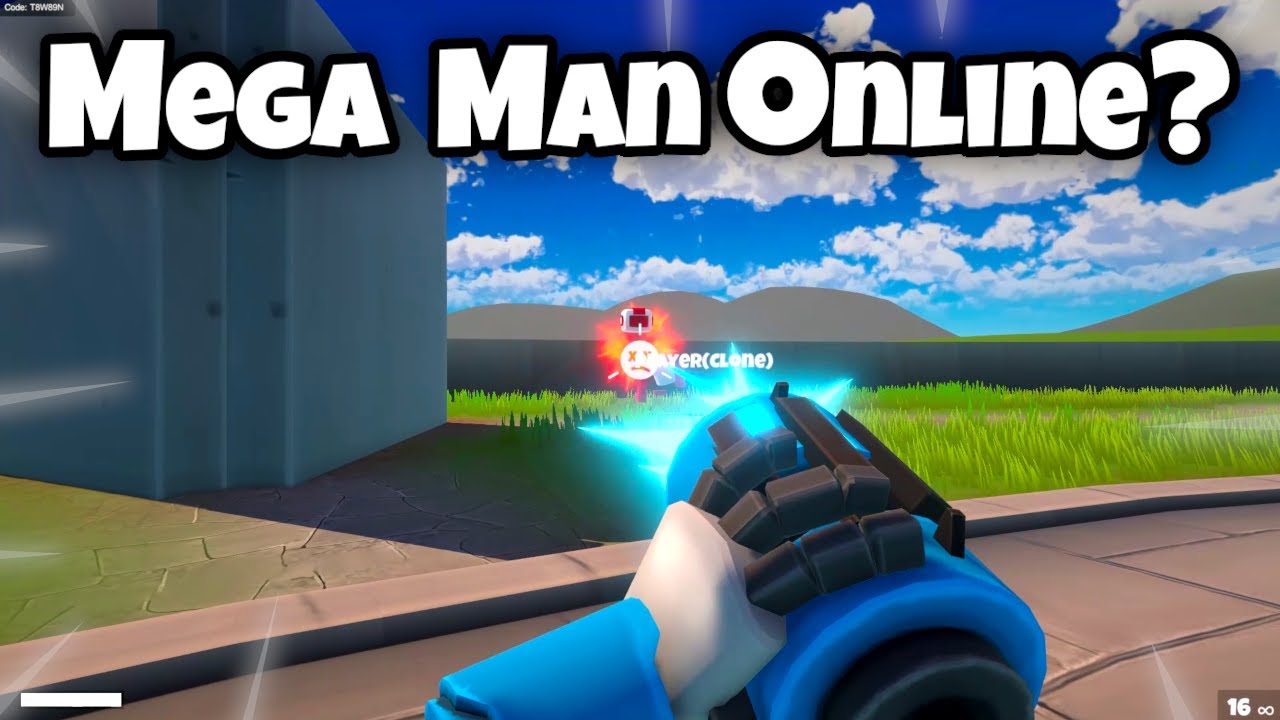
I spent a few days making a multiplayer game to try out Netcode and to decide if I should switch from my own networking solution to Netcode.
Thanks for watching!
Wishlist my game on steam: https://store.steampowered.com..../app/2121720/Elven_B
For business enquiries you can contact us via our website or email:
awakenstudios1@gmail.com
awakenstudios.co.nz
Follow us on:
Instagram: https://www.instagram.com/awakenstudi...
Twitter: https://twitter.com/AwakenStudiosNZ
COD Gameplay by @NoCopyrightGameplays


Now that the enemy knows where to go, we will now make the enemy physically move to where it wants to go to find the player.
Reference Code and Project Download:
http://forum.unity3d.com/threa....ds/130725-AI-Pathfin
Got a questions, problems, glitches? Get help here:
http://forum.unity3d.com/threa....ds/126207-ETeeskiTut
Unity Engine used in accordance to the Unity3D End User License Agreement, found here:
http://unity3d.com/unity/unity....-end-user-license-3.

╔═╦╗╔╦╗╔═╦═╦╦╦╦╗╔═╗
║╚╣║║║╚╣╚╣╔╣╔╣║╚╣═╣
╠╗║╚╝║║╠╗║╚╣║║║║║═╣
╚═╩══╩═╩═╩═╩╝╚╩═╩═╝
121Gamers The Elite Gamers Facebook Type Community
121gamers stunning HD Integrated Video Chat,Games,Video Share,Downloads,Clan Groups,Battles,Reviews And More 121gamers offers many custom options such as Vdeos,live interactive services virtual world walls photo share customise you wall add twitter facebook friends check out the fastest growing gaming Cummunity Http://www.121Gamers.com
╔═╦╗╔╦╗╔═╦═╦╦╦╦╗╔═╗
║╚╣║║║╚╣╚╣╔╣╔╣║╚╣═╣
╠╗║╚╝║║╠╗║╚╣║║║║║═╣
╚═╩══╩═╩═╩═╩╝╚╩═╩═╝

Using a House of Hydro 12 Disc humidifier to make this simple humidifier tote. This would be perfect for around 50-150 sq/ft oyster mushroom fruiting room.
House of Hydro recommends setting the heater at 80-85F or lower. 105 is the maximum operating temperature for these foggers, going above this set point can cause damage.
https://thehouseofhydro.com/index.html
As an Amazon Associate I earn from qualifying purchases through my kit website
https://kit.co/MyersMushrooms
Shop and check out my page at MyersMushrooms.com
Support my channel via patreon here,
https://www.patreon.com/myersmushrooms
🏆 My Online Courses
⭐Discount Coupon: LAUNCH-STEVDZA-SAN
https://stevdza-san.com
🐱👤 Wanna become a member? Join!
https://www.youtube.com/channe....l/UCYLAirIEMMXtWOECu
📸 Instagram
https://www.instagram.com/stevdza_san/
Hello there and welcome to my Tutorial Series. With this video I'm starting a new tutorial series about ROOM database with Kotlin. This tutorial serie will have 5 videos.This current video will be all about creating a Database schema for our project. So if you watched my earlier tutorial series about SQLite Database, then you noticed how hard is it to create and manage one database. But with ROOM library everything is easier! ROOM library is built on top of SQliteOpenHelper class.
Project File (Part 1): https://drive.google.com/file/....d/18CGd3YUiHYezGazA4
Room Database Part 2 - Insert Data - https://youtu.be/UBCAWfztTrQ
Room Database Part 3 - Read Data - https://youtu.be/3USvr1Lz8g8
Room Database Part 4 - Update Data - https://youtu.be/5rfBU75sguk
Room Database Part 5 - Delete Data - https://youtu.be/MFKOwKxdhwU
Dependencies:
// Navigation Component
implementation 'androidx.navigation:navigation-fragment-ktx:2.2.2'
implementation 'androidx.navigation:navigation-ui-ktx:2.2.2'
// Room components
implementation "androidx.room:room-runtime:2.2.5"
kapt "androidx.room:room-compiler:2.2.5"
implementation "androidx.room:room-ktx:2.2.5"
androidTestImplementation "androidx.room:room-testing:2.2.5"
// Lifecycle components
implementation "androidx.lifecycle:lifecycle-extensions:2.2.0"
implementation "androidx.lifecycle:lifecycle-common-java8:2.2.0"
implementation "androidx.lifecycle:lifecycle-viewmodel-ktx:2.2.0"
// Kotlin components
implementation "org.jetbrains.kotlin:kotlin-stdlib-jdk7:1.3.72"
api "org.jetbrains.kotlinx:kotlinx-coroutines-core:1.3.5"
api "org.jetbrains.kotlinx:kotlinx-coroutines-android:1.3.5"
Timestamps:
0:00 - Introduction
0:39 - ROOM Advantages
1:09 - ROOM Main Components
2:00 - App Preview
2:38 - Dependencies
3:28 - Create Entity
5:07 - Create Dao
7:02 - Create Database
10:49 - Create Repository
12:10 - Create ViewModel


This video is a complete tutorial for the MetaTrader 4 mobile application (Android and iPhone) that is suitable for beginners. In this beginner MetaTrader 4 tutorial I show you how to download the app on both Android and iPhone and then I show you how to use it from top to bottom. I have put together a table of contents for the video so that you can jump to any section you need in this tutorial for the Metatrader 4 app.
ACY Securities - http://bit.ly/DT_ACY
Trading Basics Series - http://youtu.be/LLFHHhV1qac&list=PLmF_l6pwZMjwHVpKi0Xre9627UcGt2VQj
Get Started Demo Trading Series - http://youtu.be/Raqr8RdPBx0&list=PLmF_l6pwZMjw_eIKg3GgzvHcJOiTIYaCI
MetaTrader 4 Desktop Tutorial - https://youtu.be/SZFHVgr2x5E
TIME STAMPS
=================================================
[0:00] - Intro
[01:29] - How to download the MetaTrader4 application (Android & iPhone)
[01:59] - Opening the application for the first time
[02:20] - How to log into/manage/remove different broker accounts
[03:52] - Understanding the Quotes screen
[04:50] - How to add, rearrange and remove markets from the Quotes screen
[07:26] - How to change the settings for the Quotes screen
[07:59] - Understanding the Chart screen
[10:02] - How to change the chart type on the Chart screen
[10:27] - How to add, edit and remove indicators on the Chart screen
[10:41] - Add an indicator in a new indicator window
[11:32] - Add indicator to existing indicator window
[12:08] - Amend existing indicator settings
[12:33] - Delete an indicator
[12:59] - How to use the Crosshair tool
[13:21] - How to use the Multi-menu
[13:40] - How to add and use the Drawing tools
[14:57] - How to amend the Drawing tool settings
[15:36] - How to delete a Drawing tool
[15:48] - How to open a Trade
[19:10] - Understanding the Trade screen
[21:47] - How to arrange the trade screen list
[22:07] - How to open a trade from the Trade screen
[22:18] - How to Close or Modify a Trade or Pending Order
[23:11] - Understanding the Trade History screen
[25:13] - Understanding the News screen
[25:33] - Understanding the Messages screen
[26:15] - Using the Sidebar Menu
[26:37] - Understanding the Mailbox screen
[26:59] - Understanding the Economic Calendar screen
[27:28] - Understanding the Settings screen
[30:01] - Understanding the Journal screen
[30:29] - MQL5 Redirects - Account Monitoring, Traders Community & Trading Applications
[30:47] - Brokerage used - ACY Securities
[31:08] - Bonus tip - makeshift Ruler tool
[31:49] - Outro
TRADINGVIEW
=================================================
Full tutorial of TradingView - [https://youtu.be/Vtrswz8TNks]
Affiliate Link - [http://bit.ly/tradingviewDT]
MUSIC USED
=================================================
Epidemic Sound - Dylan Sitts (artist) - Brontosaurus (song title)
Affiliate link - https://www.epidemicsound.com/referral/23x7pl/
PREVIOUS VIDEO
=================================================
My Previous Video - https://youtu.be/by6ElzX7r1E
SOCIAL LINKS
=================================================
Subscribe to the YouTube Channel for more videos: https://www.youtube.com/c/DisciplinedTraderUK
Check out the Disciplined Trader blog: http://www.disciplinedtrader.co.uk
Follow me on Instagram: https://twitter.com/disciplinedtrader.uk
Follow me on Twitter: https://twitter.com/disciplinedtrad
Follow me on Facebook: https://www.facebook.com/disciplinedtrader/

Start your software dev career - https://calcur.tech/dev-fundamentals 💯 FREE Courses (100+ hours) - https://calcur.tech/all-in-ones
🐍 Python Course - https://calcur.tech/python-courses
✅ Data Structures & Algorithms - https://calcur.tech/dsa-youtube
~~~~~~~~~~~~~~~ CONNECT ~~~~~~~~~~~~~~~
✉️ Newsletter - https://calcur.tech/newsletter
📸 Instagram - https://www.instagram.com/CalebCurry
🐦 Twitter - https://twitter.com/calebCurry
🔗 LinkedIn - https://www.linkedin.com/in/calebcurry
▶️ Subscribe - http://calcur.tech/subscribe
👨🏻🎓 Courses - https://www.codebreakthrough.com
~~~~~~~~~~~~~~ SUPPORT ME ~~~~~~~~~~~~~~
↪ My Amazon Store - https://www.amazon.com/shop/calebcurry
🅿 Patreon - http://calcur.tech/patreon-calebcurry
🅖 GitHub Sponsors - https://github.com/sponsors/CalebCurry
Ⓟ Paypal - http://paypal.me/calcur
🅑 Bitcoin - 3HnF1SWTzo1dCU7RwFLhgk7SYiVfV37Pbq
🅔 Eth - 0x350139af84b60d075a3a0379716040b63f6D3853
📈 Buy Bitcoin - https://calcur.tech/crypto
Reserve the Ruby Steel crypto rewards card and get a $25 bonus (use affiliate code "Caleb") - https://calcur.tech/crypto

ATTENTION! PLEASE LOOK HERE FOR THE UPDATED DETAILS AND THE IMPROVED FINAL VERSION OF THIS BUILD! - https://youtu.be/od-nG93ywDA
Here are the details on what is inside the no ice fog chiller. This is my version based on what I've seen in the video made by Intocoasters and some videos of the Cumulus fog machine made by Chauvet. No ice is needed at all for this chiller to create low lying fog. It uses water vapor instead to saturate the fog and makes it heavier by making it "wetter". All I have to do is keep an eye on the water level and refill it when it starts to get low, which will take many hours with a tank this size. The mister is the most expensive part of this build at around $100-$150 for a 10 head mister with a power supply. I'll list the parts below for anyone who wants to make one themselves.
EDIT - It has been determined that the secondary tank and water pump will not be needed if a float is purchased or built for the ultrasonic mister. The mister head can float in the main tank without the need for recirculation as long as the tank is of a large enough size to not get overheated or run empty quickly. Here is a link to the float I used for my 10 head unit. - https://amzn.to/3D0h0gn I've also rebuilt mine after failing to get a satisfactory lid seal on the tote. Please see this video for details on how to improve this build - https://youtu.be/od-nG93ywDA I apologize for any headaches and wasted time/money this tutorial may have caused everyone. I'm going to leave it up because it shows the details on making it, but I highly recommend using a float instead of the second tote and pump and use a sturdier box than a tote that can be sealed easier.
1 - 6̶5̶ ̶G̶a̶l̶l̶o̶n̶ ̶"̶C̶o̶m̶m̶a̶n̶d̶e̶r̶"̶ ̶t̶o̶t̶e̶ ̶=̶ ̶L̶o̶w̶e̶s̶ - EDIT 10/9/21 I had a lot of trouble sealing this tote against fog leaking out. Don't use it. - EDIT 10/25/21 A Kobalt tool chest from Lowe's - stock #1407437 is a much better box to use for this build. A thick bead of RTV sealant can be used around the underside of the lid to make a gasket that will seal it up tight. Others have reported good success with a variety of weatherproof tool boxes.
1- 5̶ ̶G̶a̶l̶l̶o̶n̶ ̶"̶C̶o̶m̶m̶a̶n̶d̶e̶r̶"̶ ̶t̶o̶t̶e̶ ̶=̶ ̶L̶o̶w̶e̶s̶ - NOT NEEDED IF USING A FLOAT FOR THE MISTER (RECCOMMENDED)
1- 3" 90 Degree Sweep Elbow = Lowes (inlet pipe)
1- 3" Straight Coupling = Lowes (underside inlet pipe)
3" PVC Pipe (You will only need about 4-8 inches) = Lowes
1- 3" Closet Flange = Lowes (outlet pipe) - You can use 3" pvc, but you will have to use a coupling to secure it and need a reducer to get the hose to fit over it.
PVC Cement epoxy or other glue for the pipe fittings
1- 3" x 6ft Flex Hose = Amazon - https://amzn.to/3ncPNCE
1- Hose Clamp or zip ties suitable for 3" Hose = Lowes
1- 9̶5̶ ̶G̶P̶H̶ ̶S̶u̶b̶m̶e̶r̶s̶i̶b̶l̶e̶ ̶P̶u̶m̶p̶ = Amazon - https://amzn.to/3BSNsRp - NOT NEEDED IF USING A FLOAT FOR THE MISTER HEAD (RECCOMMENDED)
3̶/̶8̶ ̶t̶u̶b̶i̶n̶g̶ ̶f̶o̶r̶ ̶t̶h̶e̶ ̶S̶u̶b̶m̶e̶r̶s̶i̶b̶l̶e̶ ̶P̶u̶m̶p̶ ̶(̶a̶b̶o̶u̶t̶ ̶1̶8̶"̶)̶ ̶-̶ ̶L̶o̶w̶e̶s̶ - NOT NEEDED IF USING A FLOAT FOR THE MISTER HEAD (RECCOMMENDED)
1 B̶r̶i̶c̶k̶ ̶o̶r̶ ̶o̶t̶h̶e̶r̶ ̶w̶e̶i̶g̶h̶t̶ - NOT NEEDED IF USING A FLOAT FOR THE MISTER HEAD (RECCOMMENDED)
1- 10 Head Ultrasonic Mister = Amazon or Ebay $100 to $150
Silicone Caulk or RTV gasket maker for sealing around the pipes and under the lid
F̶o̶a̶m̶ ̶W̶i̶n̶d̶o̶w̶ ̶W̶e̶a̶t̶h̶e̶r̶s̶t̶r̶i̶p̶p̶i̶n̶g̶ ̶(̶Y̶o̶u̶ ̶w̶i̶l̶l̶ ̶n̶e̶e̶d̶ ̶a̶r̶o̶u̶n̶d̶ ̶1̶2̶ ̶f̶e̶e̶t̶)̶ ̶or Silicone RTV gasket maker if you are using the Kobalt tool box for your build.
4̶ ̶b̶o̶l̶t̶s̶ ̶w̶i̶t̶h̶ ̶w̶a̶s̶h̶e̶r̶s̶ ̶a̶n̶d̶ ̶n̶u̶t̶s̶ ̶f̶o̶r̶ ̶a̶t̶t̶a̶c̶h̶i̶n̶g̶ ̶t̶h̶e̶ ̶d̶r̶a̶i̶n̶ ̶f̶l̶a̶n̶g̶e̶ - not needed if using 3" pvc and a coupler.
1- Large SOCKitBOX connection box = Amazon - https://amzn.to/2YGANTm
1- ̶1̶2̶v̶ ̶P̶C̶ ̶f̶a̶n̶ ̶=̶ ̶T̶h̶e̶s̶e̶ ̶c̶a̶n̶ ̶b̶e̶ ̶f̶o̶u̶n̶d̶ ̶e̶x̶t̶r̶e̶m̶e̶l̶y̶ ̶c̶h̶e̶a̶p̶l̶y̶ ̶o̶n̶ ̶A̶m̶a̶z̶o̶n̶ ̶o̶r̶ ̶E̶b̶a̶y̶ ̶o̶r̶ ̶c̶a̶n̶ ̶b̶e̶ ̶t̶a̶k̶e̶n̶ ̶o̶u̶t̶ ̶o̶f̶ ̶o̶l̶d̶ ̶c̶o̶m̶p̶u̶t̶e̶r̶s̶ ̶o̶r̶ ̶b̶r̶o̶k̶e̶n̶ ̶g̶a̶m̶i̶n̶g̶ ̶c̶o̶n̶s̶o̶l̶e̶s̶.̶ ̶Y̶o̶u̶ ̶w̶i̶l̶l̶ ̶h̶a̶v̶e̶ ̶t̶o̶ ̶w̶i̶r̶e̶ ̶i̶t̶ ̶t̶o̶ ̶a̶ ̶1̶2̶v̶ ̶p̶o̶w̶e̶r̶ ̶s̶u̶p̶p̶l̶y̶ ̶y̶o̶u̶r̶s̶e̶l̶f̶.̶ ̶V̶e̶r̶y̶ ̶e̶a̶s̶y̶ ̶t̶o̶ ̶d̶o̶.̶ ̶W̶a̶t̶e̶r̶p̶r̶o̶o̶f̶ ̶v̶e̶r̶s̶i̶o̶n̶s̶ ̶c̶a̶n̶ ̶b̶e̶ ̶p̶u̶r̶c̶h̶a̶s̶e̶d̶ ̶f̶o̶r̶ ̶a̶ ̶h̶i̶g̶h̶e̶r̶ ̶p̶r̶i̶c̶e̶.̶ USE A MARINE BILGE PUMP BLOWER INSTEAD OF WHAT I USED IN THE VIDEO! They are overpowered and you need to use a speed control to slow it down by about 75%, but they are made for wet environments and can be attached to the outlet hose instead of inside the box. Links below for the blower and speed control...
Blower - https://amzn.to/3piVsZ4
Speed Control - https://amzn.to/3n8FFZX
And this is not shown in the video because I decided to add it later, but I put a drain plug between the wheels of my tote to make it easier to empty the water out of the tote. Install it so that the plug is on the inside where it can easily be reached. https://amzn.to/3lxkTm9

In this video we will discover : How To Make a Radar with Arduino, and ultrasonic sensor.
Circuit diagram : https://andprof.com/arduino-el....ectronic/how-to-make
Programming Code : https://andprof.com/arduino-el....ectronic/how-to-make
Processing code : https://andprof.com/arduino-el....ectronic/how-to-make
download Processing software : https://processing.org/download
For more arduino projects visit our Website : https://andprof.com/
How to use arduino IDE software : https://andprof.com/tools/what-is-arduino-software-ide-and-how-use-it/
---------------------------
our website link : https://andprof.com/
--------------------------
#arduino
#Arduino_projects
-----------------------
ultrasonic radar using arduino
ultrasonic radar project
How to make an ultrasonic Radar
Arduino Radar Project
Ultrasonic Radar Project
How to Make a Radar with Arduino
Radar System Using Arduino, ultrasonic sensor, servo motor. Simple Project
How to Make Radar Using Ultrasonic Sensor Arduino
╔═╦╗╔╦╗╔═╦═╦╦╦╦╗╔═╗
║╚╣║║║╚╣╚╣╔╣╔╣║╚╣═╣
╠╗║╚╝║║╠╗║╚╣║║║║║═╣
╚═╩══╩═╩═╩═╩╝╚╩═╩═╝
121Gamers The Elite Gamers Facebook Type Community
121gamers stunning HD Integrated Video Chat,Games,Video Share,Downloads,Clan Groups,Battles,Reviews And More 121gamers offers many custom options such as Vdeos,live interactive services virtual world walls photo share customise you wall add twitter facebook friends check out the fastest growing gaming Cummunity Http://www.121Gamers.com
╔═╦╗╔╦╗╔═╦═╦╦╦╦╗╔═╗
║╚╣║║║╚╣╚╣╔╣╔╣║╚╣═╣
╠╗║╚╝║║╠╗║╚╣║║║║║═╣
╚═╩══╩═╩═╩═╩╝╚╩═╩═╝