- Film & Animation
- Music
- Pets & Animals
- Sports
- Travel & Events
- Gaming
- People & Blogs
- Comedy
- Entertainment
- News & Politics
- How-to & Style
- Non-profits & Activism
- Religion & Spiritual
- Health Natural Remedies
- Gardening +
- Arts & Crafts
- Action
- Hair & Beauty
- Hunting & Survival
- Shopping & Reviews
- Motivational & Self Help
- Jesus
- Marriage
- Live TV
- Programing & Coding
- Latest & Gadgets
- Make You Own
- Unexplained & Stange
- Jesus Christ
- Food & More
- Other
Top videos


How did the Looney Tunes gang end up in space? No one knows, but while they are there, they are ready to wreak havoc. Houston we have a problem!
That's not all folks! Catch up with all your favorite characters - Bugs and Daffy, Tweety and Sylvester, and Coyote and Road Runner as they play pranks, have high-speed chases, and outsmart their enemies.
WB Kids is the home of all of your favorite clips featuring characters from the Looney Tunes, Scooby-Doo, Tom and Jerry and More!
#WBKids #KidsCartoons #LooneyTunes #Sci-Fi
Looney Tunes available on digital!
MORE VIDEOS HERE
►https://www.youtube.com/wbkids
MORE GAMES & ACTIVITIES HERE
►https://www.wbkidsgo.com/
All Warner Bros. related characters and elements © & ™ Warner Bros. Entertainment Inc. (s21)
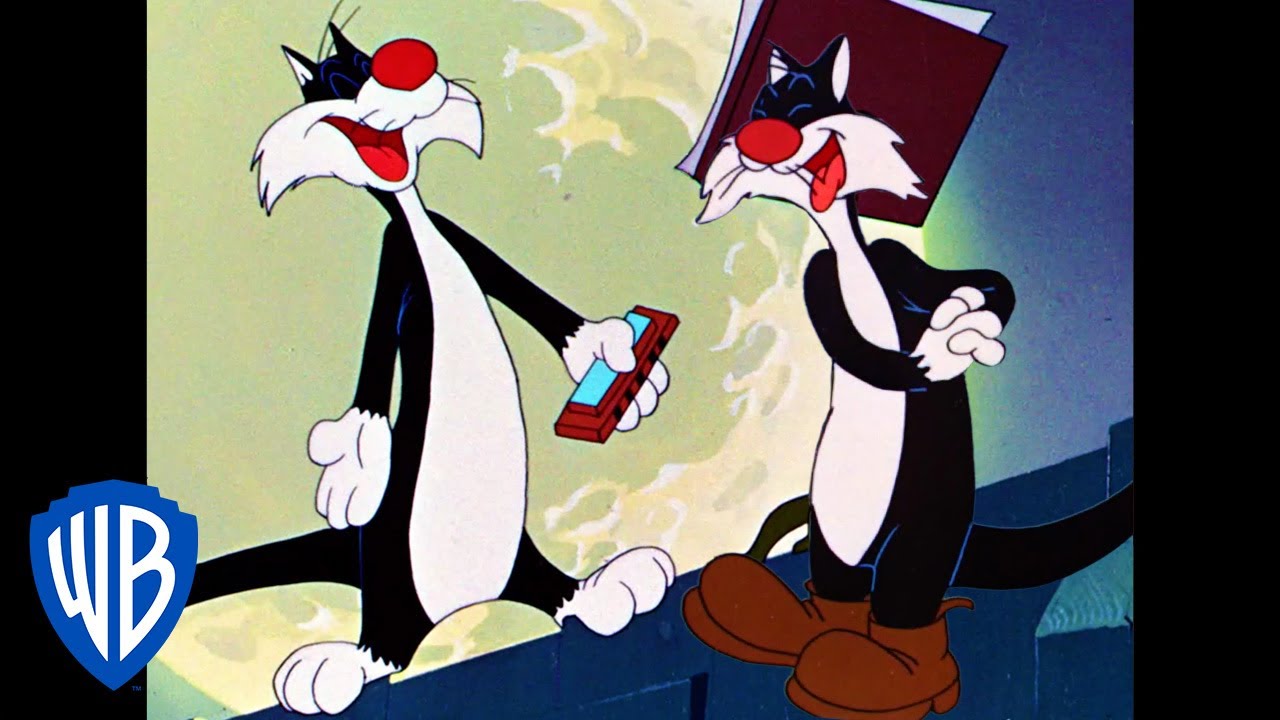
Sylvester has decided to host a late night concert... In front of Elmer's house.
That's not all folks! Catch up with all your favorite characters - Bugs and Daffy, Tweety and Sylvester, and Coyote and Road Runner as they play pranks, have high-speed chases, and outsmart their enemies.
WB Kids is the home of all of your favorite clips featuring characters from the Looney Tunes, Scooby-Doo, Tom and Jerry and More!
Looney Tunes available on digital!
MORE VIDEOS HERE
►https://www.youtube.com/wbkids
MORE GAMES & ACTIVITIES HERE
►https://www.wbkidsgo.com/
All Warner Bros. related characters and elements © & ™ Warner Bros. Entertainment Inc. (s20)

╔═╦╗╔╦╗╔═╦═╦╦╦╦╗╔═╗
║╚╣║║║╚╣╚╣╔╣╔╣║╚╣═╣
╠╗║╚╝║║╠╗║╚╣║║║║║═╣
╚═╩══╩═╩═╩═╩╝╚╩═╩═╝
121Gamers The Elite Gamers Facebook Type Community
121gamers stunning HD Integrated Video Chat,Games,Video Share,Downloads,Clan Groups,Battles,Reviews And More 121gamers offers many custom options such as Vdeos,live interactive services virtual world walls photo share customise you wall add twitter facebook friends check out the fastest growing gaming Cummunity Http://www.121Gamers.com
╔═╦╗╔╦╗╔═╦═╦╦╦╦╗╔═╗
║╚╣║║║╚╣╚╣╔╣╔╣║╚╣═╣
╠╗║╚╝║║╠╗║╚╣║║║║║═╣
╚═╩══╩═╩═╩═╩╝╚╩═╩═╝

