- Film & Animation
- Music
- Pets & Animals
- Sports
- Travel & Events
- Gaming
- People & Blogs
- Comedy
- Entertainment
- News & Politics
- How-to & Style
- Non-profits & Activism
- Religion & Spiritual
- Health Natural Remedies
- Gardening +
- Arts & Crafts
- Action
- Hair & Beauty
- Hunting & Survival
- Shopping & Reviews
- Motivational & Self Help
- Jesus
- Marriage
- Live TV
- Programing & Coding
- Latest & Gadgets
- Make You Own
- Unexplained & Stange
- Jesus Christ
- Food & More
- Other
Top videos


Mamma Mia! Here We Go Again - Fernando: Ruby (Cher) meets an ex-lover Fernando Cienfuegos (Andy Garcia), and the two sing a duet of "Fernando."
BUY THE MOVIE: https://www.fandangonow.com/de....tails/movie/mamma-mi
Watch the best Mamma Mia! Here We Go Again scenes & clips:
https://www.youtube.com/playli....st?list=PLZbXA4lyCtq
FILM DESCRIPTION:
In 1979 young Donna, Tanya and Rosie graduate from Oxford University -- leaving Donna free to embark on a series of adventures throughout Europe. On her journeys, she makes the acquaintances of Harry, Bill and Sam -- the latter whom she falls in love with, but he's also the man who breaks her heart. In the present day, Donna's pregnant daughter, Sophie, dreams of renovating a taverna while reuniting with her mother's old friends and boyfriends on the Greek island of Kalokairi.
CREDITS:
TM & © Universal (2018)
Cast: Amanda Seyfried, Andy Garcia, Cher, Christine Baranski, Colin Firth, Dominic Cooper, Julie Walters, Pierce Brosnan, Stellan Skarsgård
Director: Ol Parker
Screenwriter: Ol Parker
Watch More:
► Fresh New Clips: http://bit.ly/2taDWqW
► Classic Trailers: http://bit.ly/2qTCxHF
► Hot New Trailers: http://bit.ly/2qThrsF
► Clips From Movies Coming Soon: http://bit.ly/2FrP8VL
► Indie Movie Clips: http://bit.ly/2qTZMRE
► Deleted Scenes: http://bit.ly/2ARbLPJ
► Bloopers: http://bit.ly/2qYmBnc
► Celebrity Interviews: http://bit.ly/2D4tzw4
Fuel Your Movie Obsession:
► Subscribe to MOVIECLIPS: http://bit.ly/2CZa490
► Watch Movieclips ORIGINALS: http://bit.ly/2D3sipV
► Like us on FACEBOOK: http://bit.ly/2DikvkY
► Follow us on TWITTER: http://bit.ly/2mgkaHb
► Follow us on INSTAGRAM: http://bit.ly/2mg0VNU
The MOVIECLIPS channel is the largest collection of licensed movie clips on the web. Here you will find unforgettable moments, scenes, and lines from all your favorite films. Made by movie fans, for movie fans.

Instagram https://www.instagram.com/orpatchy 👨🏻🦰
To learn the tactics I've used to grow multiple YouTube channels past 100,000 subscribers, check out my course here - https://www.yourtubeblueprint.com 📚
To make my videos I use…
This camera - https://amzn.to/3mFZw6s
This lens - https://amzn.to/3KJIDQk
This camera mic - https://amzn.to/3mDDdhY
This voice over mic - https://amzn.to/40buCkb
Music from here (get a free trial with this link) - https://www.epidemicsound.com/referral/2plhq4
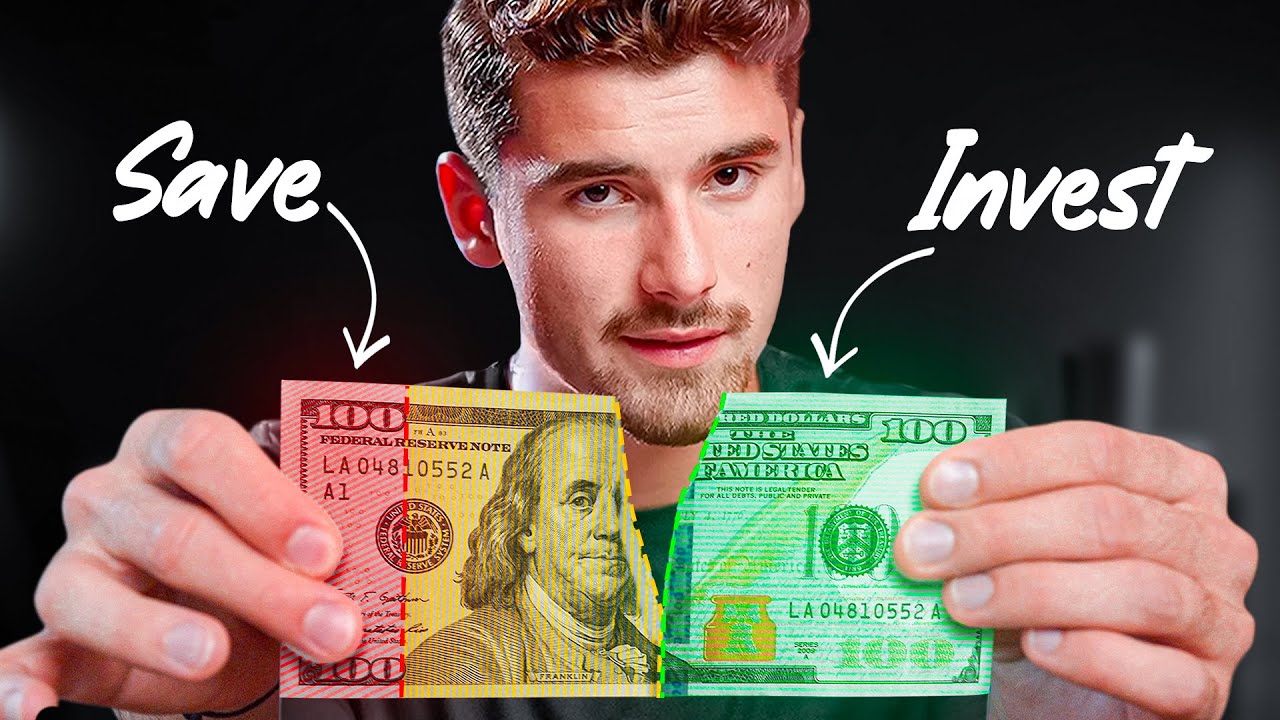
In this video, I speak about my the last year and my experience of going from a full time video editor, to quitting my job to do YouTube "full time". I go over the different ways I made money with YouTube this year, showing the potential it has a source for passive income. I also do my best to answer your questions from Instagram about the process and behind the scenes of being a YouTuber. Hope you all enjoyed this one.
Some of the links above contain affiliate links. Purchasing anything through these links doesn’t cost you anything extra, but I get a little bit of $ off Bezos and his boys.
#passiveincome #personalfinance


So halal mode. #shorts
RECIPES on my Discord:
https://discord.com/invite/goldengully
TikTok: @GoldenGully
https://www.tiktok.com/@goldengully?
Join me on Twitch, streaming every night:
https://www.twitch.tv/goldengully/
Instagram: @Golden.Gully
https://www.instagram.com/golden.gully/
Twitter: @Gully_Golden
https://twitter.com/gully_golden
Video and audio clips from Peppa Pig.

After popular demand, here it is! #shorts
Hit me up on TikTok for different and more recipes. Scroll down!: https://www.tiktok.com/@goldengully?
Join me on Twitch, streaming every night: https://www.twitch.tv/goldengully/
Instagram: @Golden.Gully
Twitter: @Gully_Golden
Audio: Riftybeats


In this video i will show you, how you can make a wonderful, well working Roll Grinder with simple tools everyone have in his workshop.
- Diamond Disc
https://de.aliexpress.com/item/1005004606821975.html?spm=a2g0o.order_detail.order_detail_item.3.695d636843JOLZ&gatewayAdapt=glo2deu
- Fiberglass Cutting Disc
https://de.aliexpress.com/item/32652931091.html?spm=a2g0o.best.moretolove.12.594e2f18r5O5iZ&gps-id=pcBestMore2Love&scm=1007.40000.326746.0&scm_id=1007.40000.326746.0&scm-url=1007.40000.326746.0&pvid=a6015cb6-a697-49ce-a341-7835ea0878de&_t=gps-id%3ApcBestMore2Love%2Cscm-url%3A1007.40000.326746.0%2Cpvid%3Aa6015cb6-a697-49ce-a341-7835ea0878de%2Ctpp_buckets%3A668%232846%238115%23811&pdp_npi=3%40dis%21CHF%211.26%211.06%21%21%21%21%21%40210318b916821738759698099e2983%2159748540802%21rec%21CH%213468499877&gatewayAdapt=glo2deu
- Bearing Pulley
https://www.aliexpress.com/p/order/detail.html?orderId=8164010066639877&tracelog=rowan&rowan_id1=pay_success_20221027_1_en_US_2023-03-09&rowan_msg_id=9877816401006663$3a84bb484bd643afa4abc28cafe4cab4&ck=in_edm_other
- Rubber Rings
https://de.aliexpress.com/item/1005004316778166.html?spm=a2g0o.productlist.main.13.b1746153yfah1t&algo_pvid=540c2d01-c5a9-464f-ac34-ca5653871bcc&aem_p4p_detail=2023040214502711647405035624050019156921&algo_exp_id=540c2d01-c5a9-464f-ac34-ca5653871bcc-6&pdp_ext_f=%7B%22sku_id%22%3A%2212000028729956627%22%7D&pdp_npi=3%40dis%21CHF%211.33%210.8%21%21%21%21%21%402102188b16804722279528230d06fe%2112000028729956627%21sea%21CH%213468499877&curPageLogUid=SWJSnczqsemK&ad_pvid=2023040214502711647405035624050019156921_7&ad_pvid=2023040214502711647405035624050019156921_7
👉 Victorinox Online Shop: www.victorinox.com
👉 Links for my books, Swiss Army Knives and equipment below
👇👇👇
🇩🇪 🇦🇹 🇨🇭 Mein Amazon Shop: https://www.amazon.de/shop/feliximmler 🇺🇸 My Amazon Shop: https://www.amazon.com/shop/feliximmler 🇬🇧 My Amazon Shop: https://www.amazon.co.uk/shop/felixim...
➡️ Instagram: https://www.instagram.com/feliximmler/
➡️ Facebook: https://www.facebook.com/felix.immler
➡️ Website: http://feliximmler.ch

Now You Can Easily Make Your Coin Bank from Cardboard. I will show you how can you make this DIY project in simple steps. Just follow the video. It's so fun to make this Home made Coin Bank Machine.
Please Support me by Joining Me on Patreon Here: https://www.patreon.com/MillionGears
DIY Coin Bank Box from Cardboard. Have you ever think of making your own coin bank from cardboard. I will show you how can you make this DIY project in simple steps. Just follow the video. It's so fun to make this Home made Coin Bank Machine.
Please Support me by Joining Me on Patreon Here: https://www.patreon.com/MillionGears
For Measurements and template Click the link here ➡:https://www.patreon.com/posts/....coin-bank-from-2-751
Join any patreon level and unlock the post, enjoy ;)
If there's any problem, message me on Instagram, I will help you : www.instagram.com/milliongears
Things Required:
1. Cardboard
2. Hot Glue Gun: https://amzn.to/33I0rrt
3. Cutter Knife: https://amzn.to/39ZfXQu
4. Glue Sticks: https://amzn.to/3gxsmhf
#CoinBank #HowToMake #DIY #CardboardCrafts #AwesomeProjects
If you Enjoyed This Video, Then Please Give it a Like and Share This with Your Friends.
To Stay Updated Please Subscribe to My Channel by hitting that red button near the channel icon.
******Social media links *******
Instagram : https://www.instagram.com/MillionGears
Tumblr : https://www.tumblr.com/blog/milliongears
Facebook: https://www.facebook.com/MillionGearsOfficial
Twitter : https://twitter.com/MillionGears
YouTube : https://www.youtube.com/MillionGears
~~~~~~~~~~~~~~~~~~~~~~~~~~~~~~~~~~~~~~~~~~~~
Music Credits:
Music From Epidemic Sounds, Checkout Your Free Trial Now :
https://www.epidemicsound.com/referra...
Thanks For Watching!
Please Subscribe!

In todays video I will explain how to make money online using ChatGPT as a beginner and make up to $50 Per day using these 7 different methods that I use to make over $50k month with my online businesses.
This video is going to discuss the top 7 ways to make money online using AI BOT ChatGPT in 2023. These 7 methods are the best way to make money online for beginners is due to the fact that this is what I personally do myself to make a passive income online using the internet.
▬▬▬▬▬▬▬▬▬▬▬▬▬▬▬▬▬▬▬▬▬▬▬▬▬
Sign up the my FREE weekly newsletter:
➡️ https://bit.ly/3QHV4wV
▬▬▬▬▬▬▬▬▬▬▬▬▬▬▬▬▬▬▬▬▬▬▬▬▬
Softwares mentioned in the video:
➡️Zik analytics 7 day trial -https://bit.ly/2KV1FIP
➡️Invideo 25% Discount Link: http://bit.ly/3IQuT6U
➡️Originality.Ai Sign up - http://bit.ly/418xcIS
▬▬▬▬▬▬▬▬▬▬▬▬▬▬▬▬▬▬▬▬▬▬▬▬▬
Start your Dropshipping Journey Here:
➡️ FREE Dropshipping Webinar: https://bit.ly/3xgOnKX
➡️ Shopify Dropshipping Step by Step Guide: https://bit.ly/3xgOnKX
▬▬▬▬▬▬▬▬▬▬▬▬▬▬▬▬▬▬▬▬▬▬▬▬▬
This video includes the top 7 ways to make money online for beginners in 2023 using an AI BOT ChatGPT
If you're looking for ways to earn some extra cash from the comfort of your own home, you're in the right place. ChatGPT is a fantastic resource for anyone looking to make money online, and today I'm going to show you just how easy it can be.
The first way to make money with ChatGPT is by helping with a blog. Many bloggers need assistance with content creation, editing, and even social media management. By offering your services as a freelancer through ChatGPT, you can earn money while helping bloggers grow their online presence.
Another way to make money is through affiliate marketing. With ChatGPT's affiliate program, you can promote products and services to your audience and earn a commission for every sale made through your unique referral link.
If you're interested in e-commerce, ChatGPT can also help you with winning product research. By using the platform's tools and resources, you can find the best products to sell online and start your own profitable e-commerce business.
Other ways to make money online with ChatGPT include participating in paid surveys, testing websites and apps, writing product reviews, and offering your skills as a virtual assistant.
Whether you're looking to make a few extra dollars or build a full-time income online, ChatGPT has the resources you need to succeed. So what are you waiting for? Sign up today and start earning money online with ChatGPT!
In summary, ChatGPT is an excellent platform for anyone looking to make money online. Through freelancing, affiliate marketing, e-commerce, surveys, and other opportunities, ChatGPT has everything you need to start earning money from home. So, give it a try and start making money online today!
best way to make money online, make money online using Chatgpt,passive income 2023,how to make money online for beginners using AI,how to monetize your hobby,monetize your passion,passion to profits,make money fast,passive income ideas 2023,how to make money online 2023,make money online today,passive income ideas,online business,make money online 2023,ways to make money online,dropshipping, youtube automation, ebay dropshipping, amazon fba,make money online fast,how to make money,how to make passive income,earn money online,how to earn passive income online,affiliate marketing
*None of this is meant to be investment advice, it's for entertainment purposes only. The links above include affiliate commission or referrals. Majority of the money made from this video will be reinvested back into the channel to bring you a better viewer experience in the future :)
Thanks for watching and don't forget to like and subscribe :-)
#ChatGPT #SideHustle #MakeMoneyOnline


Singer and actor Josh Groban joins "CBS Mornings" to discuss playing the title character in the Broadway revival of "Sweeney Todd: The Demon Barber of Fleet Street."
#joshgroban #sweeneytodd #broadway
Each weekday morning, "CBS Mornings” co-hosts Gayle King, Tony Dokoupil and Nate Burleson bring you the latest breaking news, smart conversation and in-depth feature reporting. "CBS Mornings" airs weekdays at 7 a.m. on CBS and stream it at 8 a.m. ET on the CBS News app.
Subscribe to “CBS Mornings” on YouTube: https://www.youtube.com/CBSMornings
Watch CBS News: http://cbsn.ws/1PlLpZ7c
Download the CBS News app: http://cbsn.ws/1Xb1WC8
Follow "CBS Mornings" on Instagram: https://bit.ly/3A13OqA
Like "CBS Mornings" on Facebook: https://bit.ly/3tpOx00
Follow "CBS Mornings" on Twitter: https://bit.ly/38QQp8B
Subscribe to our newsletter: http://cbsn.ws/1RqHw7T
Try Paramount+ free: https://bit.ly/2OiW1kZ
For video licensing inquiries, contact: licensing@veritone.com

►►Get CD or VINYL/DOWNLOAD/STREAM: https://byurecords.lnk.to/vocalpointID ►Get Vocal Point MERCH: https://www.byumusicstore.com/....byu-vocal-point-merc ►SUBSCRIBE & Click the BELL to receive future video notifications! ►If you enjoy our music videos, click "JOIN" to SUPPORT future Vocal Point music videos/albums by becoming a Channel Member—and get some perks, too!
► CONNECT WITH BYU VOCAL POINT!
Facebook: http://www.facebook.com/BYUVocalPoint
Twitter/Instagram: @BYUVocalPoint
Snapchat: byuvocalpoint
Website: https://www.byuvocalpoint.com
► SHEET MUSIC available on Musicnotes.com: http://bit.ly/RaiseUpTTBB (paid link)
------------
VIDEO CREDITS
Directed by McKay Crockett
Producer: Ben Fales
Cinematography:
- Utah footage: Nick Sales - For booking, contact aeviumfilms@gmail.com
- Oregon footage: Morrisey Productions (https://www.morrisey.com, Seth@Morrisey.com)
Post production/Editing: Cody Phillips
Executive producers: Ben Fales, Shane Wright
Production assistants:
- Utah: Abby Fales
- Oregon: Abner Apsley, Sarah Barrus, Zack Battenfield
BYU VOCAL POINT 2017–18: Jason Bromley, Nathan Cazmersen, Jantzen Dalley, Josh Harden, Matt Newman, Carl Prince, Logan Shelton, David Steele, James Thorup
SOLOISTS (in order of appearance): Jantzen Dalley, Logan Shelton, James Thorup
© BYU Records 2018
SONG CREDITS:
You Raise Me Up
Music by Rolf Løvland, lyrics by Brendan Graham; arranged McKay Crockett
Produced by McKay Crockett
Recorded and edited by McKay Crockett
Mixed by Ed Boyer
Mastered by Troy Sales
Executive producer: Ben Fales
© BYU Records 2018
Special thanks to the volunteer choir members!
BYU Vocal Point CDs are available at http://BYUMusicStore.com and http://Amazon.com
To book BYU Vocal Point for an event, please call 801-422-3576.
![Josh Groban - Noel (Full Deluxe Christmas Album) [Virtual HD Yule Log]](https://i.ytimg.com/vi/--OfOU5iWxM/maxresdefault.jpg)
Listen to selections from Josh Groban's 'Noel: Deluxe Edition' with this virtual Yule Log video.
Download 'Noel: Deluxe Edition' here: https://wbr.ec/noeldeluxevi
Listen to the Josh Groban Christmas playlist here: https://JoshGroban.lnk.to/JGChristmas
Connect with Josh:
Facebook: http://www.facebook.com/joshgroban
Twitter: http://www.twitter.com/joshgroban
Website: http://www.joshgroban.com